Saturday 12 December 2009

Buckerooooo...


Time to buck the body shell to the new bellywrap and C channel.


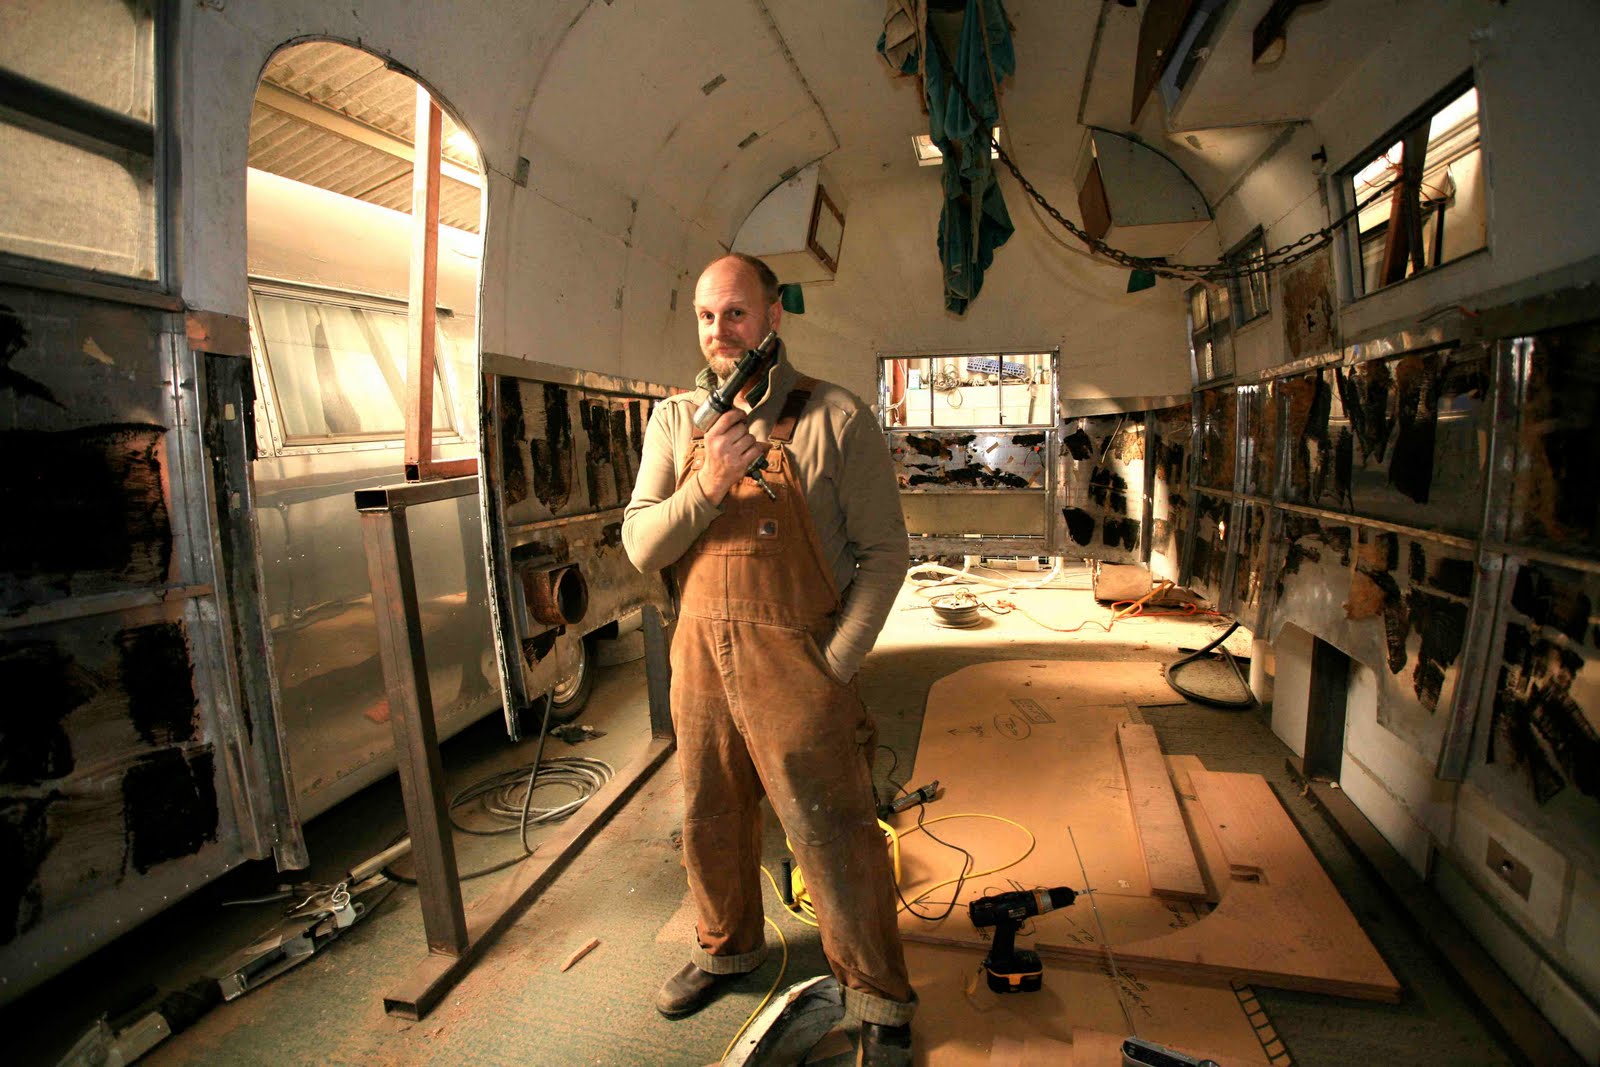
Tim's skills are suited to more delicate equipment (he's an excellent sound recordist) but he volunteered to help buck a few rivets; complete with protective headgear (not sure if that's to protect from falling objects or preserve anonymity).


Of course he got the comfy end of the bucking...


... while I got the short straw.


But at least being on the backside, you get to control the crumpling of the rivet's tail. I found the most useful 'bucking bar' was a small heavy piece of Tungsten Steel; despite its size it was enough to absorb most of the blows and crumple the tail nicely. Though where there was more room this combined with the head of a 15lb railwayman's hammer helped save my knuckles.


... you just have to trust the man with the gun isn't putting smiley faces on the heads or the skin.


Luckily he did a perfect job (of course!).


... which is more than can be said of his rivet storage !


The skin fitted pretty snugly against the bellywrap.


But there was just enough room for a bead of Vulkem (or TremPro 636, as its now called - from Vintage Trailer Supplies ) - sticky stuff that gets everywhere !


Vintage Trailer Supplies have recently started to stock solid 5/32 rivets too. They are in a soft aluminium which cuts and bucks easily.


I'd ordered the longer ones and even without proper rivet cutters, found they trim nicely with some sharp snips.


... without leaving a burr or distorting the shank of the rivet.


Choices, choices...


So I had the choice of hard (AD) rivets from Aircraft Spruce or the softer ones from Vintage Trailer Supplies. Having drilled out all of the original rivets I'm pretty sure the original Airstream ones were closer to those from VTS and the some of the harder ones from AS had lettering on their heads.
So the compromise was to use the harder rivets along the ends where the rivets are hidden by the trim strip and the softer ones along the sides where they're more visible.


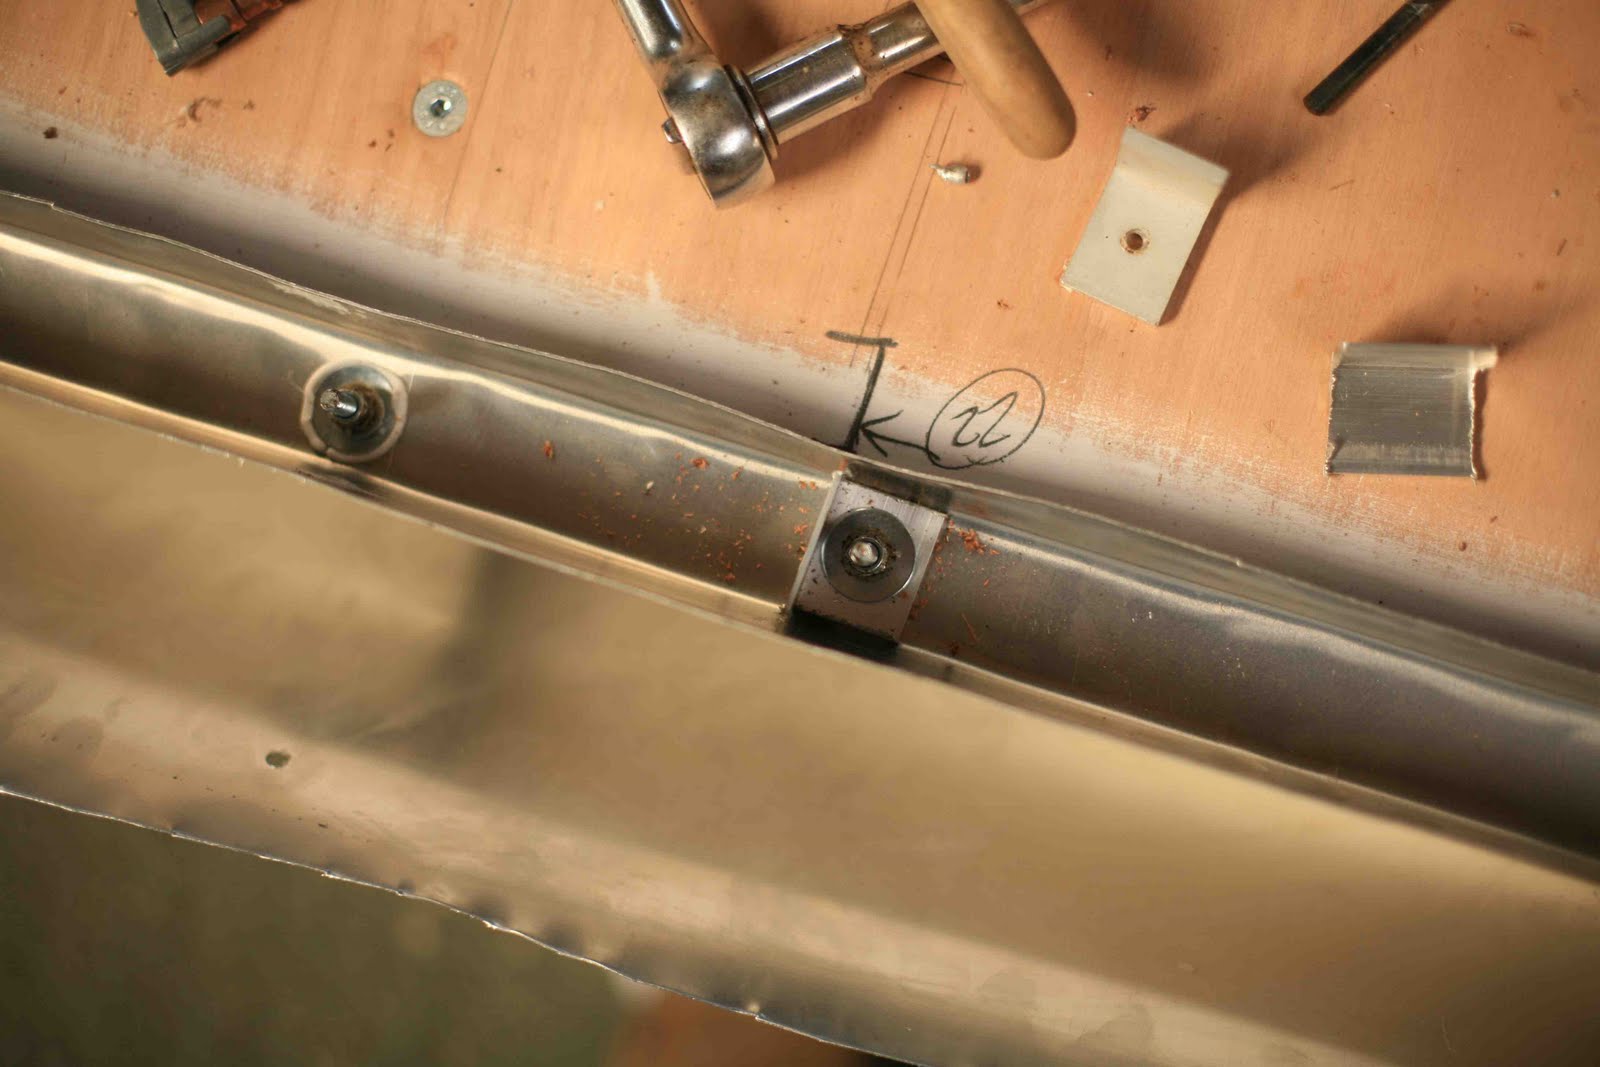
Outside, where it matters...


... and inside where it doesn't.


You can see the gold colour of the coating on the harder rivets (it polishes off easily). You can also see the wobbly path of Airstream's original rivet line !  While its tempting to drill a straighter line, it seems pointless to make more holes as they'll all be hidden by the trim, so we stuck with the wonky old ones.


And a big thanks also to Kelvin (who works with Pete Ritchie at Vintage American Trailer Co ) for stepping into Tim's shoes and bucking the rest of the rivets - its one of those jobs that really does need good teamwork. I'll catch him on camera next time.


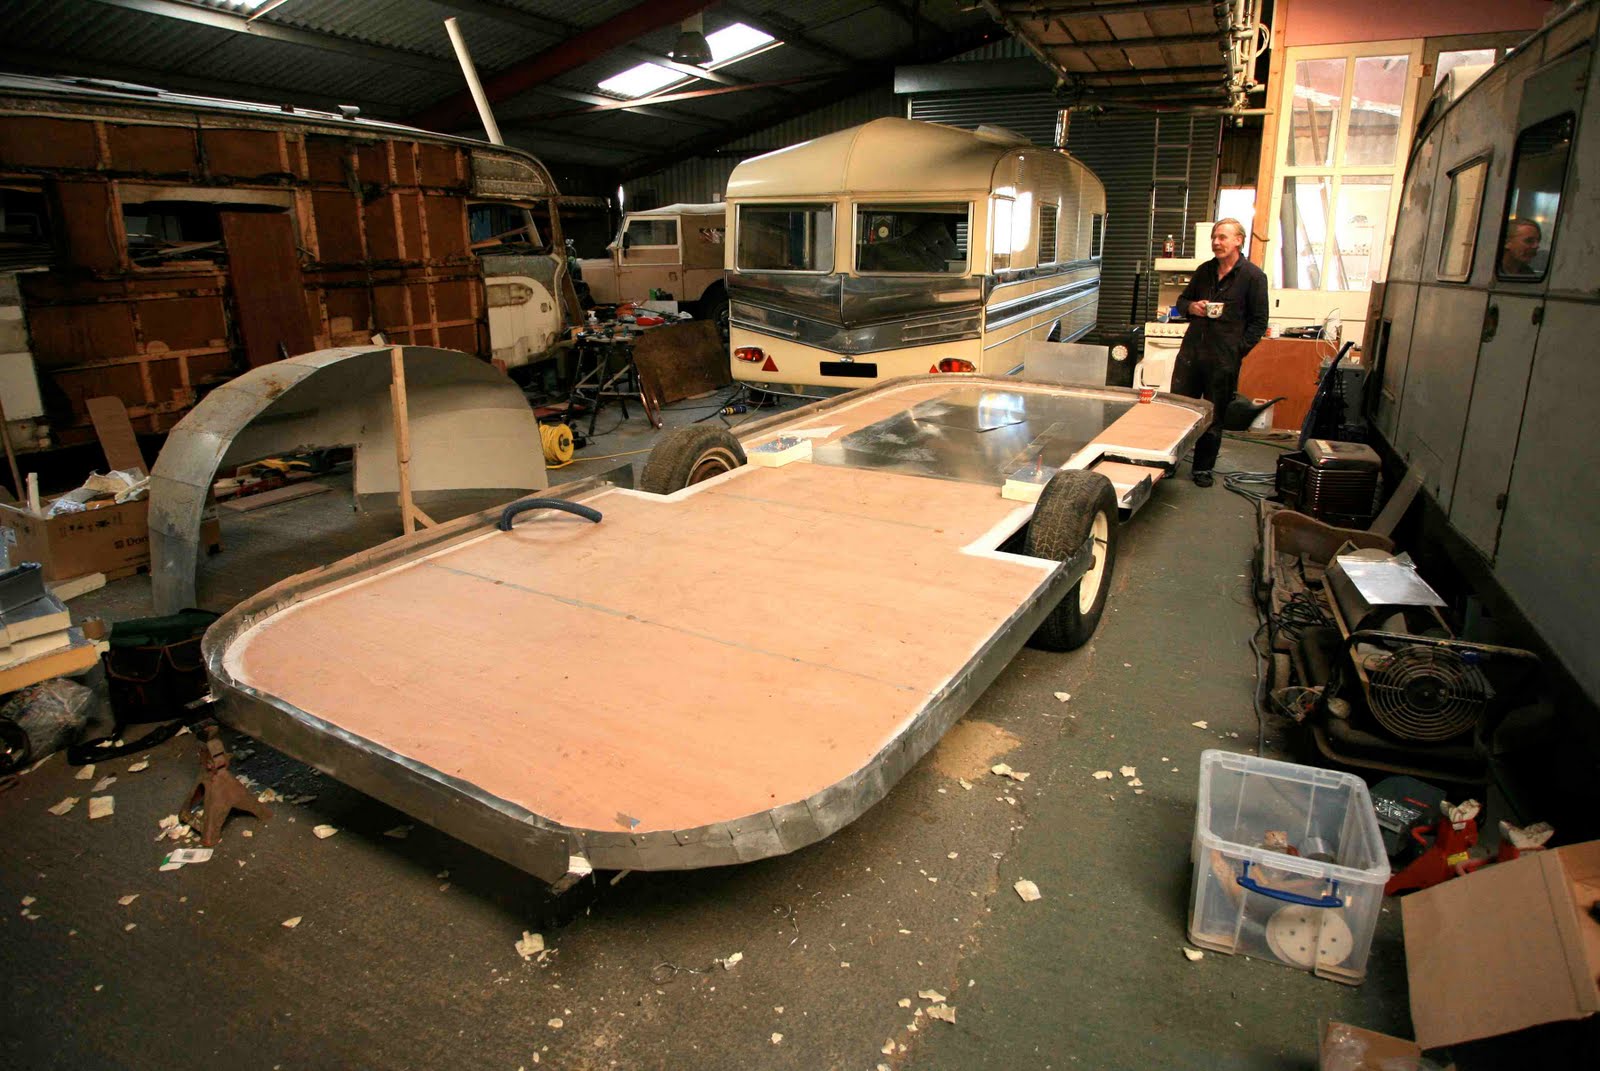
The old gal, looking good and strong enough for at least another 50 years on the road...


Now to begin work on the inside... wiring, insulation and then new Zolatone.


... hurrah !

Thursday 19 November 2009

Whole again...


Pete had fitted the last two bellywrap sheets and flipped the chassis right-side-up (cheers, Pete). Now it was time to drill out those temporary pop-rivets, fit the last few bolts holding the frame supports & buck the bellywrap ends to the C channel... before reuniting the shell & chassis.


I'd marked the position of the frames supporting the body-shell and used a short section of right-angled aluminium which was bolted through the floor and outrigger, leaving an upright to rivet the frame end to.


I'd decided bolt up through the floor (rather than down) which made things a lot easier. Rather than bend the bolt ends to stop the nuts loosening I added a Nyloc locking nut on top of the normal nut.


Along with the Clecos, I found the Cleco spring clamps incredibly useful.

Surprisingly powerful for their size, they're perfect for clamping the wrap to the C channel before riveting.


A selection of rivets from Aircraft Spruce - all 5/32 AD (hard aluminium) but in different lengths.

The shortest was perfect for 2 sheets - wrap and C channel.


A small tungsten bucking bar was easiest to use and despite its size gives very little recoil.


And as a novice 'bucker' it was a good way to learn as you can see both sides of the rivet, feather the trigger on the gun & watch the rivet end fatten, flatten & lock the sheets together.


Before we tried to reunite the two halves it there was a lot of dried Vulkem on the lower, inside edges of the skin. A scrape with a putty knife and a light sanding (one area we're not going to polish) gave us a clean and keyed alloy surface that should slip over the bellywrap and bond to a new bead of Vulkem.


It dawned on me that I'd never taken the obligatory shot; standing on the ground inside the trailer clutching a optimistic bottle of beer - no beer to hand so my best James Bond 0.032, License to Buck !


One new toy - Einhell Air Shear.


Makes very light work of cutting shapes out of sheets.


The 1953 FC didn't have a steel plate at the front of the trailer, as later models do. Instead it had a larger aluminium sheet running up the inside of the skin.


I used it to cover the front frame & make a neat exit for the twin gas lines.


All ready to go...


Just a quick cup of tea (...its the law in Britain) before lining the two halves up.


I can't say the shell just slipped on like a knife though butter - it took a lot of 'up-a-bit, down-a-bit' and teasing the skin outside the wrap while keeping the frames inside. We got the rear on first and worked our way forward - thin putty knives are very useful to stop the sheets catching. But with a little gentle persuasion they eventually fitted perfectly - and tightly.


We decided to temporarily pop-rivet along the corners which was enough to hold everything in place.


As you can see she's a little hemmed in by a Safari & a Vickers, but now she can stand on her own two feet, Pete will rearrange the shop so I can get round and buck that join line.


Inside the frames lined up perfectly with the angle-brackets.


The front end-cap had come out to repair the dent.


But I'm pretty sure I'll take out all the interior skin to renew the insulation.


The well-padded beam hadn't made any marks or dents & I'd really recommend this way of lifting the body-shell - a central chain hoist through the centre vent allowed the shell to balance perfectly, retain its shape without the need for any bracing and the chain hoist gave us precise control of lifting & lowering.


... O3069 rides again, soon !