
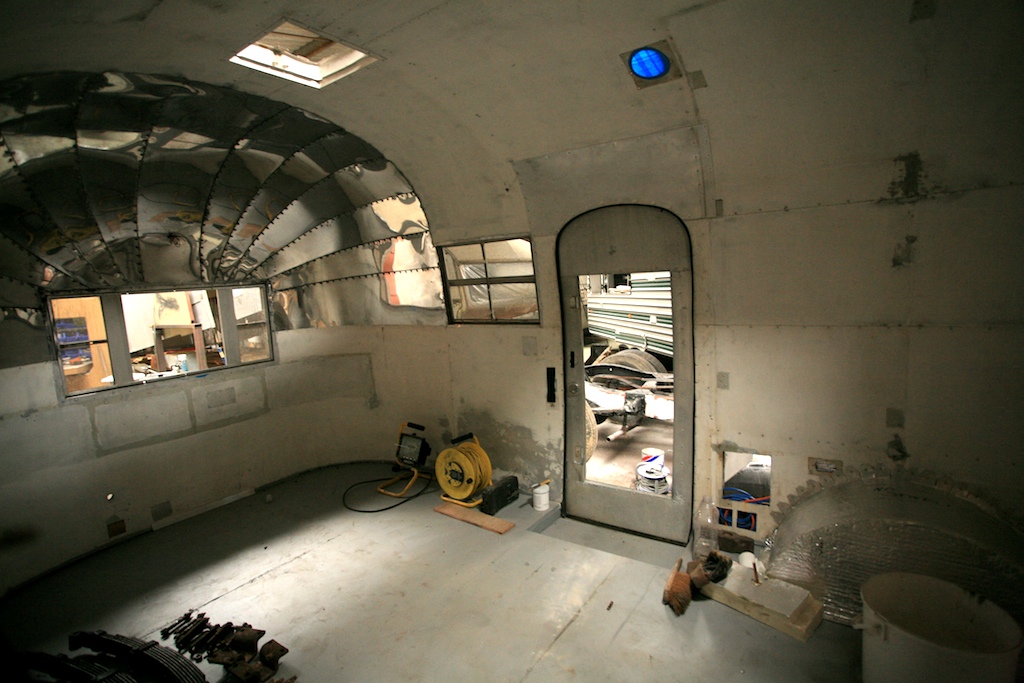
The door was hung but with temporary fixings.
Time to do it properly...
Time to do it properly...

The new hinge rivets only came through the outer skin - I could have lined them up exactly with the old holes but they were so loose & worn, I'd have been fighting a loosing battle trying to get them tight enough to hold the door firmly.

So as they're the most crucial set of rivets on the hinge I'd already decided to beef-up the fixing with a small alloy plate (most of which will be hidden by the door seal rubber).

A simple right-angled plate which I can then pop-rivet to the side too.


Vulkem, Cleco spring clamps to hold it tight.

Bucked tight to the door skin...
 ... and popped to the side (the eagle-eyed of you will have spotted the pops in the door frame - they were drilled out & replaced with bucked ones later)


Yes, I know its a mix of bucks & pops (and I could always replace the pops with Olympics) but I quite like that - structurally honest !

The temporary fixings onto the body were 4mm pops.
Time to replace them heavier-duty with 4.8mm ones.
Time to replace them heavier-duty with 4.8mm ones.

That shinier skin makes it a bit trickier to keep out of the shots !

Pschhhhh, pop, pschhhhh, pop, pschhhhh, pop - I love air tools.

You can see the sieve-like state of the skin from 50yrs of re-fixing the door. It looks awful but it would have been a major panel to replace & the very heavy alloy plate running up the inside will take all the weight of the door,

and the new hinge hiding the old evidence.

More Vulkem...

...and 9 x 4.8mm heavy-duty, long shank pop-rivets.


Pschhhhh, pop, pschhhh, pop x 9


Neat and solid

Inside and out.

Windows...
Now, I've said it before (and probably will again) but why oh WHY did Airstream use so many steel fixings when an aluminium pop would have done just fine ?! They're so rusted that most have to be cut, ground or drilled out - not an easy matter when all around is softer alloy.
Now, I've said it before (and probably will again) but why oh WHY did Airstream use so many steel fixings when an aluminium pop would have done just fine ?! They're so rusted that most have to be cut, ground or drilled out - not an easy matter when all around is softer alloy.

First window out is the fixed central section of the front

The side windows next. The Hehr Standard Glass Seal is hard & has shrunk from its original length and was probably another source of untraceable leaks.


The glass is also held in place with rusty old steel nuts & bolts...grrrrrrr
At least they'll be easier to deal with when the windows are out and on a bench.
At least they'll be easier to deal with when the windows are out and on a bench.

The central cross-member, Hehr lever and spring mechanism are richly rusted too.

Bad though it looks it should clean up pretty well - you can see the spring plate mechanism for locking the window lever - not running quite as smoothly as it should !

It'll come off when I replace the glass but its nice to record the sticker
from her last inspection at the Stateside port.
from her last inspection at the Stateside port.

Probably in an attempt to stop untraceable leaks, there was Vulkem exerywhere
- one plus; its still flexible after 50yrs.
- one plus; its still flexible after 50yrs.

All the window rubber is coming out too - not that easy as most of the glue is hard & brittle - the perfect tool is a blunt-ended knife.

Its tempting to leave it but when you look more closely...

... and compare it to a new section, you'll see its knackered.

As with the Glass Seal, the Hehr Standard Backframe Gasket is also available from the very helpful people at Vintage Trailer Supply - new on left, old on right (as if you couldn't tell !)

Drip caps are coming off too - I don't recommend drilling with one handand taking pictures with the other.

Its still worth centre-punching the old rivets before you drill them.
The originals usually have a tiny pin-prick of a hold on their headswhich makes it easier to locate a centre punch.
The originals usually have a tiny pin-prick of a hold on their headswhich makes it easier to locate a centre punch.

... and off they come


... all 8 of them.


They'll be easier to clean, polish & straighten on the bench & they'll go back on with Olympics

It will also make polishing the body that much easier - fewer things to snag !

More Vulkem to clean off.


With the drip cap off its pretty simple to get the windows out of their hinge-channels.

Just gently bend up the tabs and slide them up and out.

Gone.

Even 50yrs on, Vulkem still gets everywhere !

A brief note on Resto-Chic (not): I know none of us are in doubt just how cool our trailers will be once they're gleaming and rolling down the road, sadly the restoration process requires many weeks in rather less cool (and usually thermal) protective clothing !

The drip cap above the trunk - last to come free.

Am wondering whether Butyl Putty Tape is a better option
when refitting them - suggestions welcome !
when refitting them - suggestions welcome !

If in doubt, rest the camera on the ground !

One of the other 50s trailers in the shop has this medicine chest is out of one of them - The Omnichest !

Nice label !

So, the windows are all off & will head home
with me to be cleaned, polished and reglazed.
with me to be cleaned, polished and reglazed.

Streetside (though I suppose its reversed in the UK !)

The stern.

Window 8 (I've numbered from the door, anitclockwise)


Window 1

Streetside.


Windows 4, 5 & 6.


There - that's the 360 with everything removed.

Most of the skin has been polished with F6 - now for some finer grades.

Sadly the Zolatone franchisee in the UK has failed to materialise, so I'll be ordering the paint & getting a local spray expert to paint her once she's back in Devon - again, I'd welcome any Zolatone spraying tips.

The weather in the UK is decidedly spring-like... so thoughts are turning to camping. Our first outing will be in mid-July, so lets hope it not just in an alooooominum tent !


.jpeg)


