
The sun was shining & its time to get on with all things Airstream

First up was the interior dinette - she had a shelf with drawers but no sign of any dinette built in & looking through the RJ Dial - Vintage Airstream photo archive (which I highly recommend as a brilliant resource for those wanting to restore to the right period feel), I think quite a few Flying Clouds from the very early 50's were supplied without the more usual dinette and instead had free-standing, fold-out chairs & table

After much thought & measuring, I decided to keep the shelf with drawers - despite its rather tatty condition

The top surface plywood had rotted & delaminated & had been covered at some stage in parquet floor panels - unless this was an Airstream fitting (I doubt it)

Despite the top & bottom ply rotting, the face & the drawers weren't in bad condition

All the drawers have these three screws which fix the drawer front onto the drawer carcass - no reason to change this

and they all have her serial number

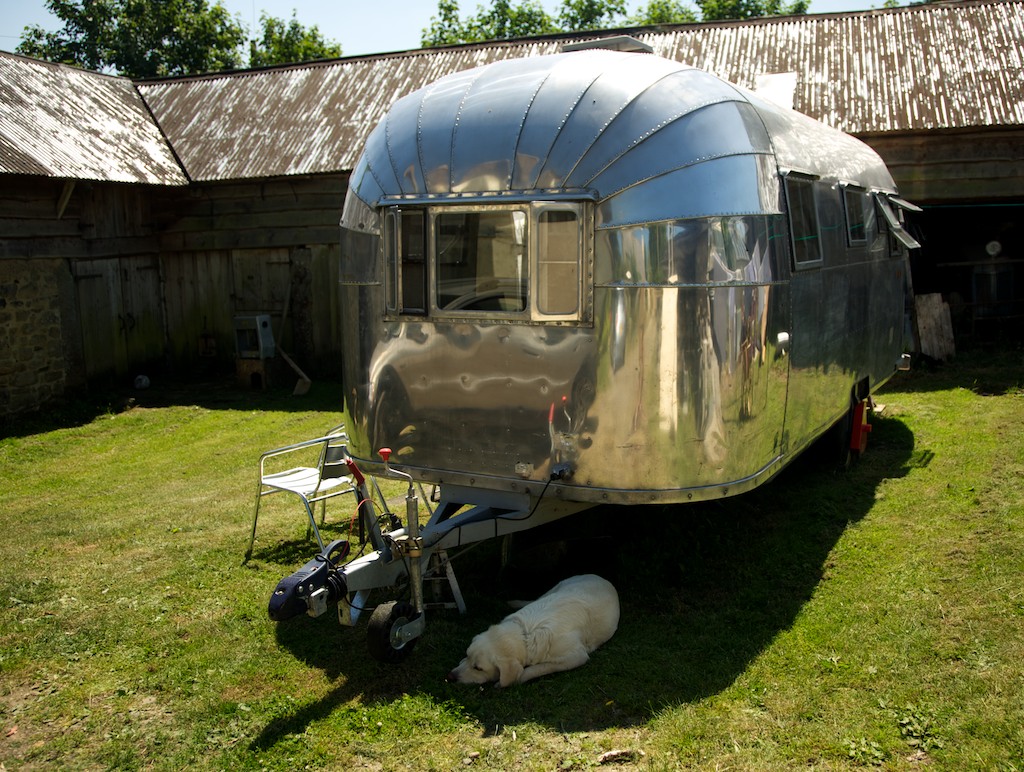
3069 (well, O 3069 - Ohio but with a California plate)

I had toyed with the idea of a wrap-around dinette seat but there really isn't room

So instead the dinette seats will comfortably fit two each side & there's always room for an extra chair at the end of the table

Although she had the 50's stove, I've swapped this for a 60's Princess

Some Formica samples

There's not the full 50's range but quite a few fit the bill - we decided to go for the Boomerangs in grey


I've also found David Winick's restoration work & book a very useful source of inspiration & ideas

I'm sure there are those who work it all out on a CAD diagramatic but I prefer to feel my way into it - so here although the curbside dinette seat could have run right up to the edge of the door (as it is in the shot above), I felt it was better to leave a 6 inch space

Alfie & Arthur like to keep an eye on the progress - from some Airstream shade !

My 8' x 4' sheet of Formica arrives

- luckily it rolls easily

and unrolls

Like it

- a nod to our Aussie relations

Worktop off & sinks out

Bargman fittings on the sinks


And quite a clever trim to join the two with an aluminium strip on the topside covering the join

A bit of pitting but nothing too bad

One out


Cleaned up, they'll go back in

The tap might need a little more work to get it serviceable
 made by Harcraft in California


and the old red crackle Formica is too faded & delaminated, so will just be used a template for the new boomerang covered worktop

As I've kept the original plywood, it took a bit of time to match the stain to the original - in the end I used a stained varnish & added more coloured stain to get the right colour as I find just the stain alone is much more difficult to get an even colour & often over exaggerates the grain of the ply

The Princess needed a frame

and some fire-resistant board to line it

I used 15mm Supalux

and there will be metal trim strip to cover the edges - eventually !

Now for the new Formica

I joined the stove frame to the kitchen cupboards & stained the ply to match

I cut the ply with metal snips - worked pretty well

Time to glue


Stuck & hopefully good for another 60 years

Back inside


I found that using a gaffer tape across the cut line helped to stop the Formica splitting - though I think the best way is to use a router

The roadside dinette seat - which will also house the batteries & electrics

I used a 12mm birchwood ply

and stained to match

It was quite tricky to get that warm glow of the 60 year old stain

I've vented the compartments and raised the battery (one for now but two in time) off the floor

and made a small door to the forward compartment

Ready to go back in

...and with battery fitted & wiring ready for the fuse board

Of course things took longer than planned (when have they ever not ?!) & we had a festival to go to

So the wiring paused & it was time to get out the polish


Beginning to get there
Great to have this heatwave in the UK but it makes for sweaty polishing operative...


.jpeg)


